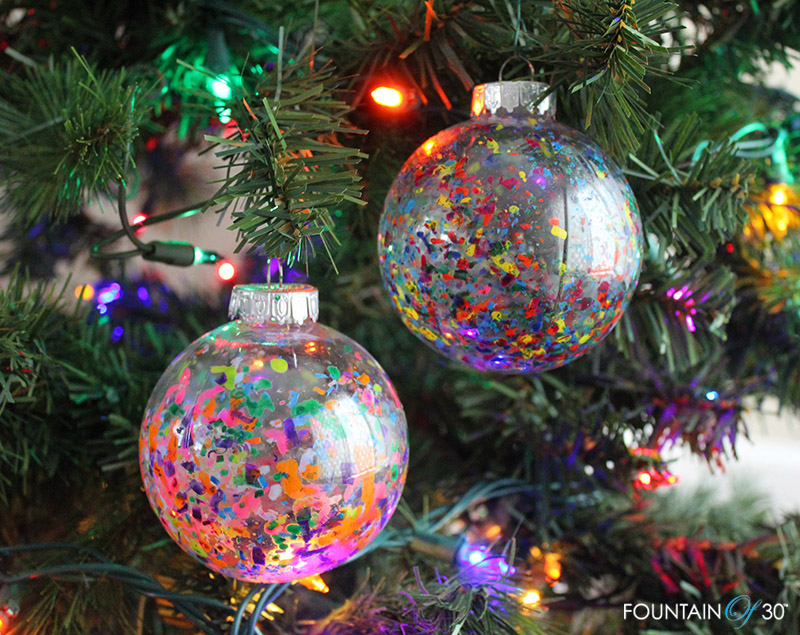
If you are looking for a holiday craft to do with the kids, these Melted Crayon Christmas Tree Ornaments are super fun and so easy-to-make. These ornaments are gorgeous enough for decorating your tree or you can give them as individual gifts. Add a silky bow to the top and use a metallic or white marker to personalize each one. Write their name, a special date or a cheerful or witty message.
Homemade Melted Crayon Ornaments
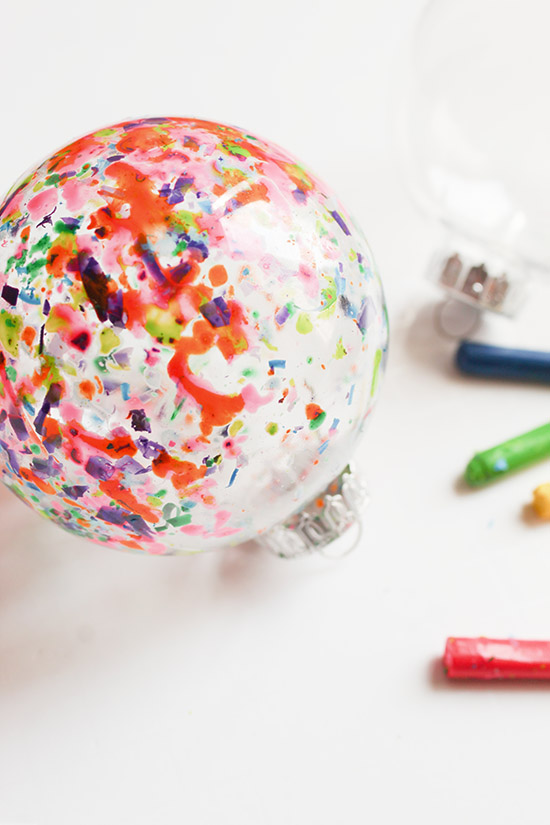
A bonus when you make these ornaments is you can recycle old crayons you have laying around the house. And it’s fun to watch them melt and make interesting abstract patterns inside the ornament. No two ornaments will be alike!
YES! I LOOK FORWARD TO #GROWINGYOUNGER
PLEASE SUBSCRIBE ME TO YOUR MAILING LIST.
What You Need to Make Melted Crayon Ornaments
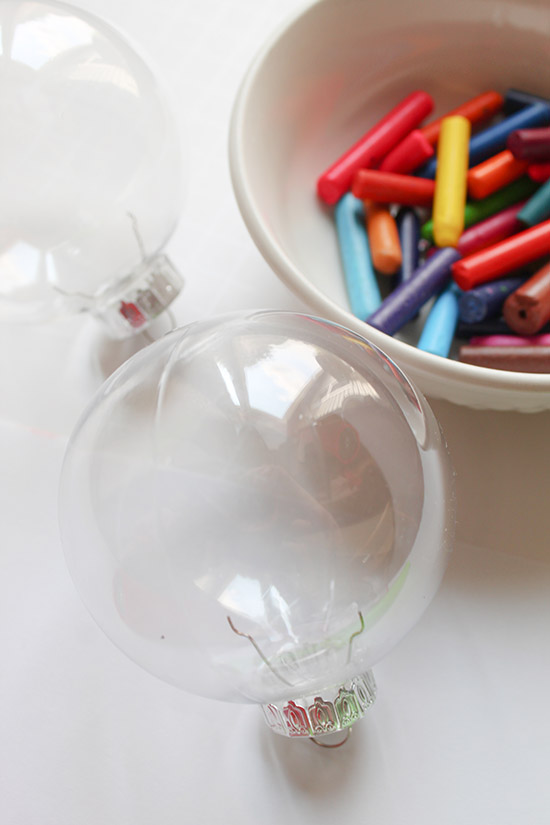
The main item you will need is the right kind of clear plastic ornaments to do this project. These are not clear plastic ornaments that open in half, but the ones that open at the top. The good news s they are really easy to find! I found this pack of 12 Creative Hobbies Round Clear Plastic Ball Ornaments on Amazon for $19.94 with Prime, and Michaels has a pack of 12 by Artminds™ now on sale for only $12.49.
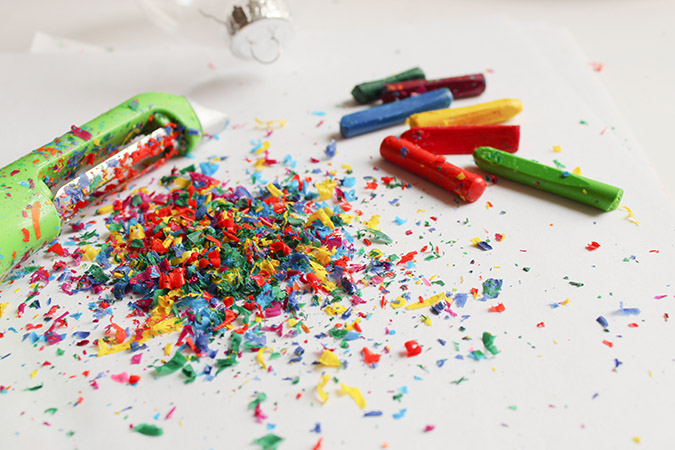
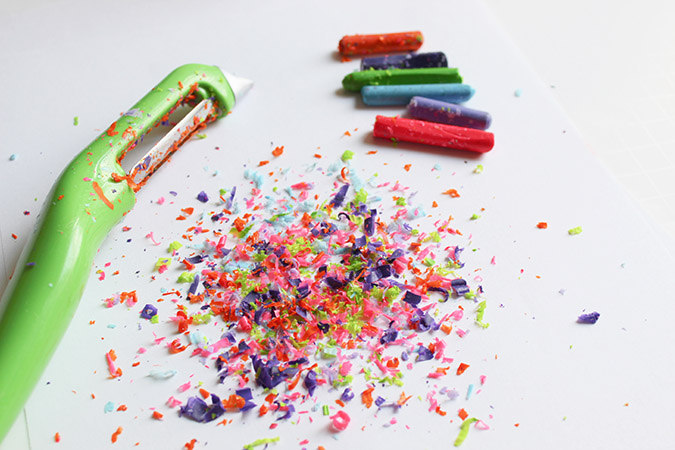
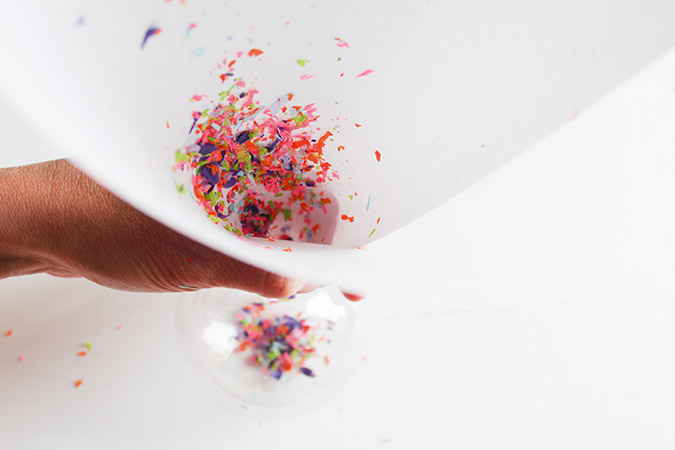
The other materials you need are a vegetable peeler (you may want to pick up a cheap one or use an old one), a hair blow dryer and a piece of paper to form a funnel…all items you probably already have in your home. You basically shave a few crayons over a piece of paper until you have about a teaspoon full and then form a funnel with the paper to get the shavings into the ornaments. Younger kids may need help with this step. But they can get in on the fun and hold the blow dryer while you turn the ornaments to form Jackson Pollock-style random splatters.
Melted Crayon Ornaments Tips
Multicolor crayons work well but you can also choose one side of the color wheel such as orange, red and magenta mixed together for one ornament or blue, aqua and violet for another. Next time I make these, I’d like to try white and silver metallic to make snowy-looking tree ornaments.
Enjoy your time spent making these DIY Melted Crayon Christmas Tree Ornaments with your family. Decorate your tree with them or make them to give as inexpensive gifts. You will have fond memories of the year you made them. Or this DIY project may become an annual holiday tradition. Happy Holidays!
Melted Crayon Christmas Tree Ornaments
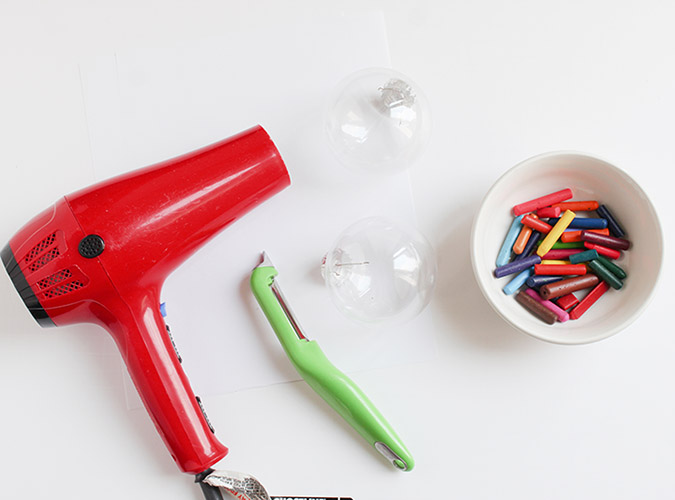
Materials:
- Clear plastic ball ornaments
- Old crayons (labels removed)
- Sheet of paper
- Vegetable peeler
- Hair dryer
Instructions:
- Use the vegetable peeler to peel at least a half tablespoon of crayon shavings in your choice of colors over a sheet of paper.
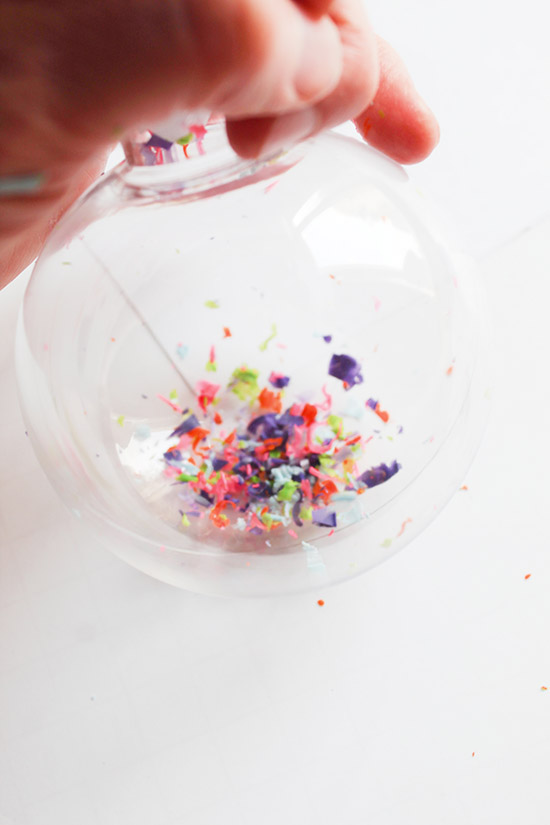
- Remove the top of the plastic ornament. Roll up the outer edges of the paper and position it with a bottom corner going into the ornament – creating a paper funnel. Tap the paper a few times to get the wax shavings to fall into the ornament. Place the top back on the ornament.
- Use a hair dryer on the lowest setting to melt the wax shavings. Continue to turn the ornament as you blow dry the outside so the shavings evenly melt around the inside of the bulb.
- Add a ribbon or ornament hook to the top and hang on your Christmas tree or give as a beautiful handmade gift!
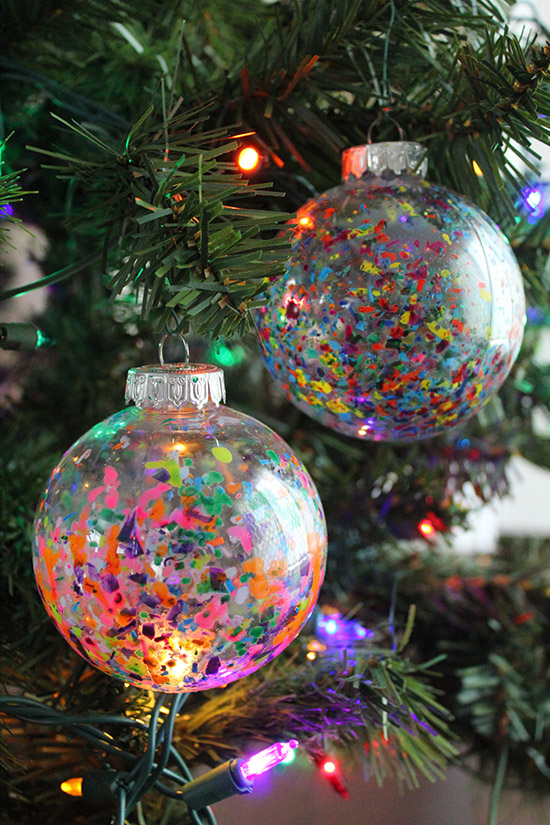
DIY Melted Crayon Christmas Tree Ornaments

Materials
- Clear plastic ball ornaments
- Old crayons (labels removed)
- Sheet of paper
- Vegetable peeler
- Hair dryer
Instructions
- Use the vegetable peeler to peel at least a half tablespoon of crayon shavings in your choice of colors over a sheet of paper.
- Remove the top of the plastic ornament. Roll up the outer edges of the paper and position it with a bottom corner going into the ornament - creating a paper funnel. Tap the paper a few times to get the wax shavings to fall into the ornament. Place the top back on the ornament.
- Use a hair dryer on the lowest setting to melt the wax shavings. Continue to turn the ornament as you blow dry the outside so the shavings evenly melt around the inside of the bulb.
- Add a ribbon or ornament hook to the top and hang on your Christmas tree or give as a beautiful handmade gift!

You may also like to make The Most Amazing No-Bake Peanut Butter Chocolate Squares and Holiday Gift Wrapping: DIY Unique Recycled Gift Tags.
This post contains affiliate links which may give us a commission at no additional cost to you.
Image Layout: Fountain Of 30
Are you following Fountain Of 30 on Facebook, X, Instagram and Pinterest? We’ve got lots going on, so join in on the fun! Subscribe to our newsletter here. You don’t want to miss a post and promise not to bug you to death. Join our Facebook Group called Growing Younger where women discuss everything good and bad about being over 50. Additionally Lauren hosts a bi-weekly podcast called Beauty is a Bitch! and an Instagram Live series called “Growing Younger Gabfest with Lauren.”
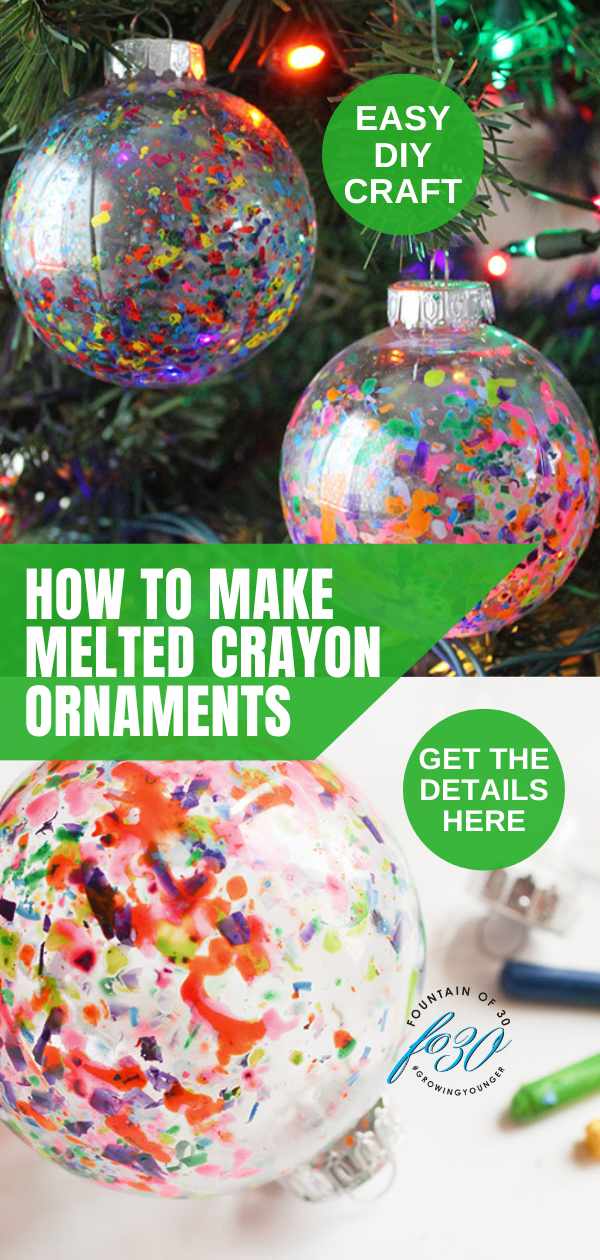
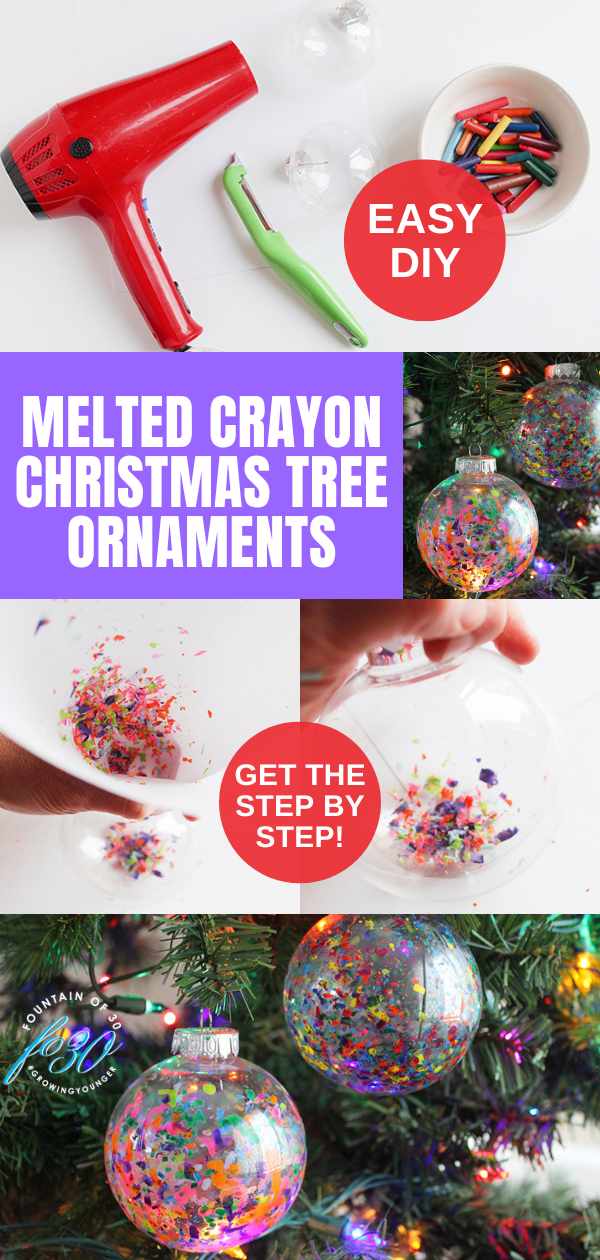
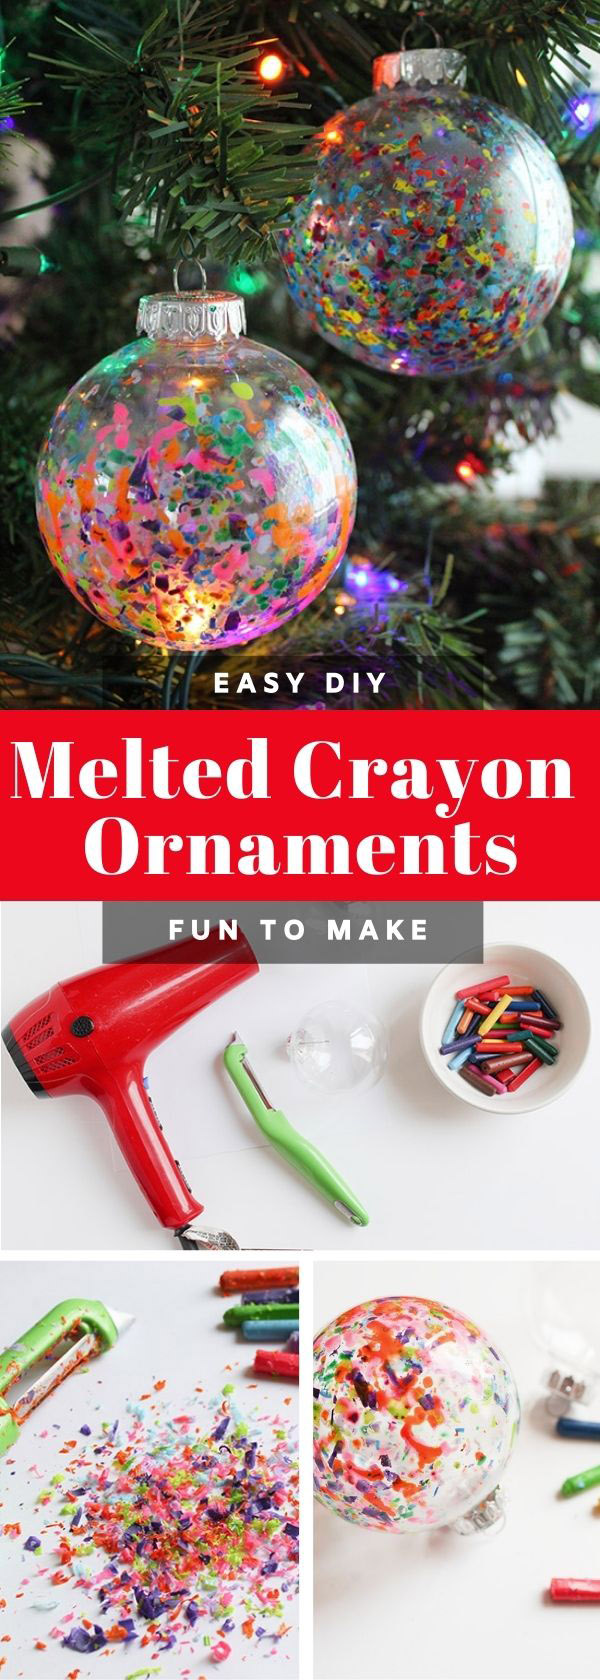
Please pin!


My kids will LOVE this! Thank you!
Yeah! Let us know how they turn out!
Will have to share this with family, we did nail polish ornaments last year as a craft… put water in a container and pour some nail polish on top to swirl around, dunking the ornament in. I was surprised how easy and nice they were. This looks similar!
Oh that sounds fun too!