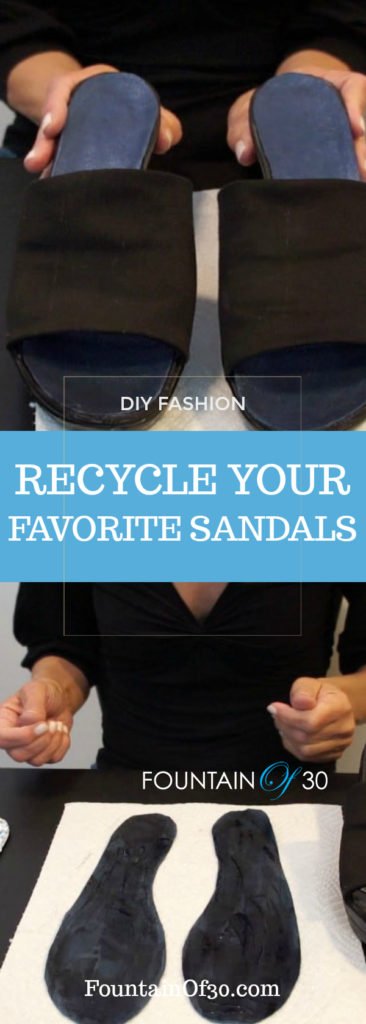
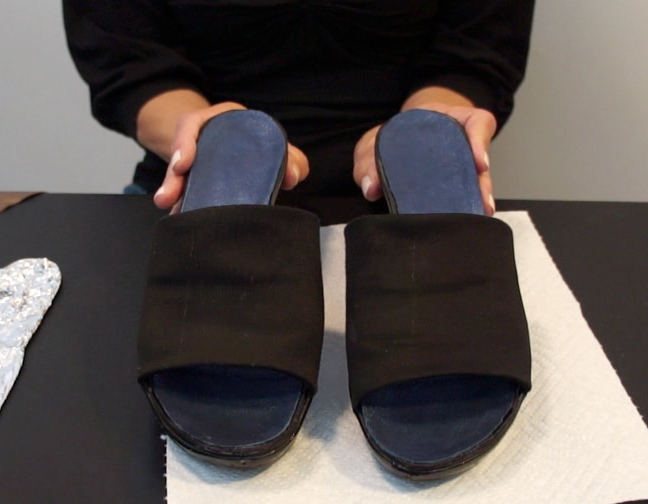
I made my favorite old sandals into a new (and fashionably updated) pair! I cleaned them up, covered up the nicks and lined them with a colorful leather lining. Now I don’t mind kicking off my heels. This trick works best for slide style sandals and you can easily do it yourself, too.
Materials:• Scraps of leather, lambskin or handbag leather or a small piece of leather from a craft or fabric store. You need enough to cover the insoles so approximately an 8-1/2 X 11 size piece (like a standard sheet of paper) is just enough for one pair of women’s shoes. So if you are new at working with leather, you may want to get more. Tip: Find scraps of handbag leather on eBay or at upholstery and fabric outlets.
• Paper Towels and Dish Soap to clean
• Sharpie Permanent Marker (same color as shoes). Black and dark brown work best, or shoe leather dye from a drug store (or Target) to touch up nicks and scratches.
• Foil• Chalk• Scissors• Rubber CementInstructions:1. Decide what color leather to use. (You are the designer!)
2.Clean the insoles of the shoes off with dish soap or mild soap and water.
3. Cover up nicks with Sharpie Permanent Marker or Shoe Dye.
4. Make a pattern the same size at the insole lining using foil.
5. Draw a line with chalk on the leather around the foil. The chalk adheres best to the suede or back side of the leather. Flip the foil pattern over to draw another chalk line on the leather for the sandal for the other foot!
6. Cut out the leather just inside the chalk outline. Lay the leather in the sandal to make sure it is the right size. Now is the time to trim any parts that hang over the shoe.
7. Coat the backs of the leather (suede side) with rubber cement and also coat the insoles of the shoes. Let both dry for a few minutes.
8. While the leather is still tacky, carefully lay the leather on the insoles of the sandals and then smooth down. Let them dry for 3-4 hours before you wear them!
Now your old sandals are all cleaned up and you can be proud to wear them again. It’s almost like getting a new pair of shoes!
Enjoy!
– Carol Calacci
 Now your old sandals are all cleaned up and you can be proud to wear them again. It’s almost like getting a new pair of shoes!
Enjoy!
– Carol Calacci
Now your old sandals are all cleaned up and you can be proud to wear them again. It’s almost like getting a new pair of shoes!
Enjoy!
– Carol Calacci